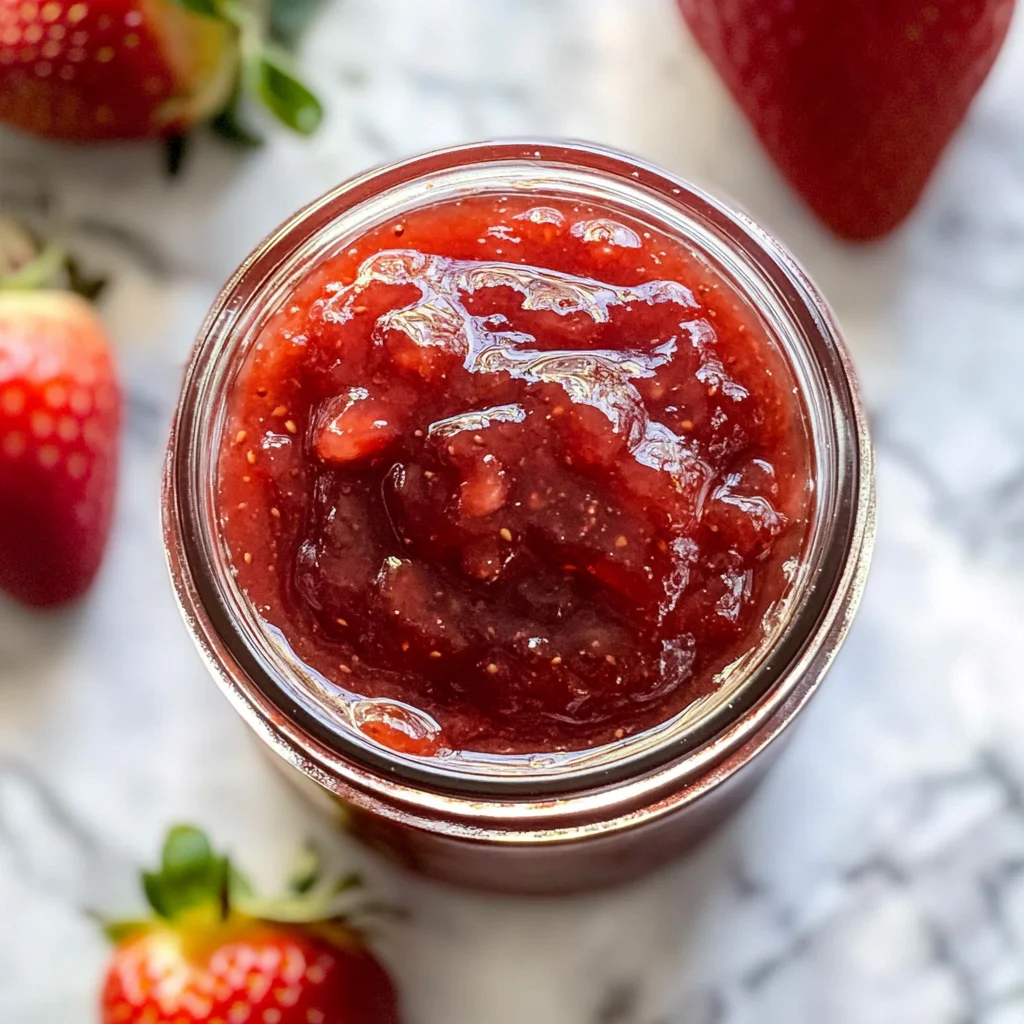
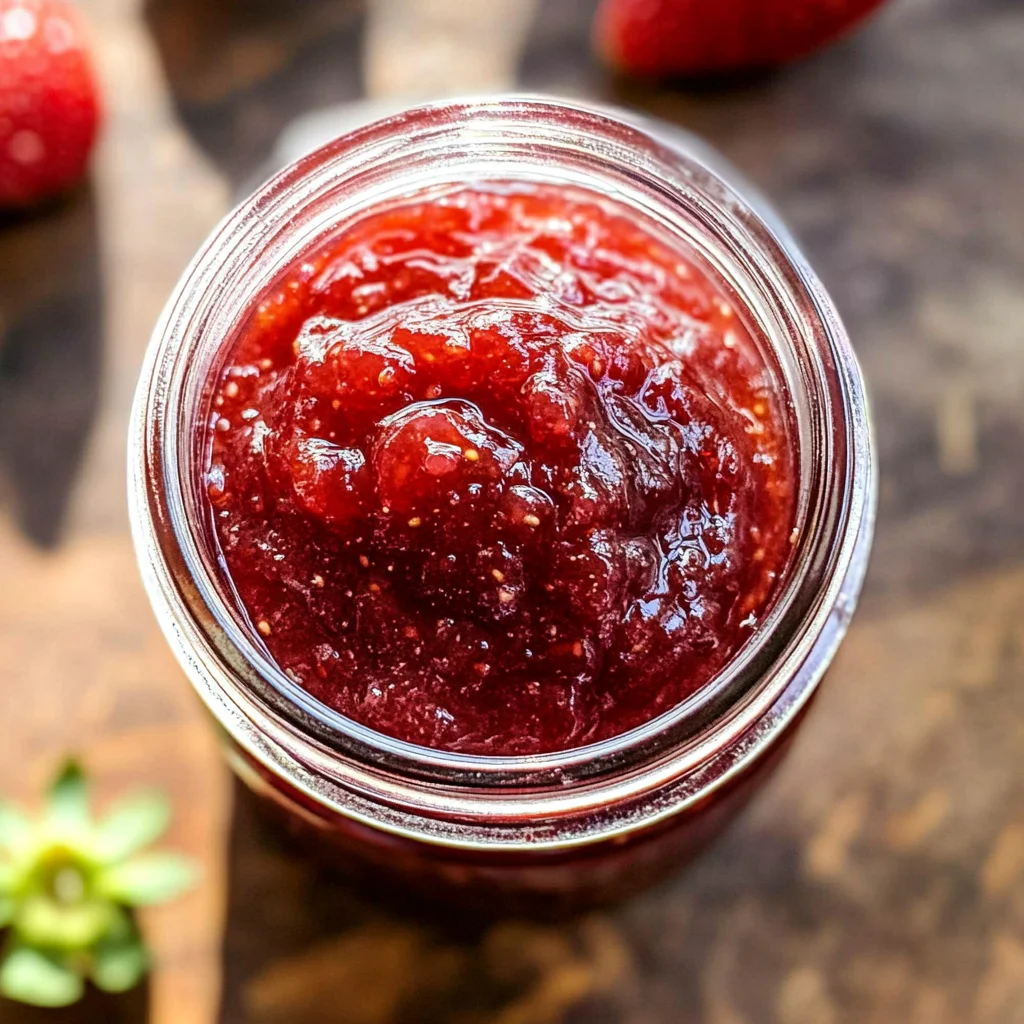
Homemade Strawberry Jam
This Homemade Strawberry Jam is a delightful treat that captures the essence of fresh strawberries. Perfect for spreading on toast, adding to desserts, or simply enjoying by the spoonful, this jam brings a homemade touch to any occasion. Its vibrant color and sweet-tart flavor make it a standout addition to your kitchen, and it’s incredibly easy to prepare!
Why You’ll Love This Recipe
- Easy to Make: With just three simple ingredients, you can whip up this delicious jam in no time.
- Versatile Use: Spread it on bread, mix it into yogurt, or use it as a filling for pastries.
- Fresh Flavor: Enjoy the taste of ripe strawberries all year round with this homemade version.
- Customizable Sweetness: Adjust the sugar to suit your personal taste and dietary needs.
Tools and Preparation
Before you begin making your Homemade Strawberry Jam, gather a few essential tools to ensure a smooth process.
Essential Tools and Equipment
- Large saucepan
- Wooden spoon
- Measuring cups
- Sterilized jars or containers
- Cold plate (for testing)
Importance of Each Tool
- Large saucepan: A spacious pot allows for even cooking and prevents spills while boiling the mixture.
- Wooden spoon: It’s gentle on your cookware and perfect for stirring without scratching surfaces.
- Sterilized jars: Using clean jars helps preserve the jam longer by preventing bacterial growth.
Ingredients
To make this delightful Homemade Strawberry Jam, you’ll need the following ingredients:
For the Jam
- 4 cups fresh strawberries (hulled and halved)
- 1 cup granulated sugar (adjust to taste)
- 2 tablespoons lemon juice (freshly squeezed)
How to Make Homemade Strawberry Jam
Step 1: Prepare the Strawberries
Measure 4 cups of fresh strawberries, hull them, and halve each berry. Set them aside for later use.
Step 2: Combine Ingredients
Pour the prepared strawberries into a large saucepan. Add 1 cup of granulated sugar and 2 tablespoons of freshly squeezed lemon juice.
Step 3: Bring to a Boil
Heat the mixture over medium heat. Stir frequently with a wooden spoon until it comes to a boil. Look for bubbling that indicates it’s cooking properly.
Step 4: Simmer and Thicken
Once boiling, reduce the heat to maintain a gentle simmer. Stir constantly to prevent sticking. Cook until the mixture thickens and coats the back of a spoon, which usually takes about 15-20 minutes.
Step 5: Test for Readiness
To check if your jam is done, place a small spoonful on a cold plate. Run your finger through it; if it holds its shape and wrinkles slightly, it’s ready!
Step 6: Jar Your Jam
Carefully pour the hot jam into sterilized jars or containers. Allow it to cool slightly before sealing them. Don’t forget to label your jars before storing them in the refrigerator.
With these easy steps, you’ll have delicious Homemade Strawberry Jam ready to enjoy!
How to Serve Homemade Strawberry Jam
Homemade strawberry jam is a delightful addition to various dishes. Its sweet and tangy flavor pairs well with many foods, making it a versatile condiment.
On Toast or Bread
- Toasted sourdough or whole grain bread topped with a generous spread of homemade strawberry jam creates a quick and satisfying breakfast.
With Cream Cheese
- Spread cream cheese on a bagel or cracker and add a layer of strawberry jam for a delicious and creamy snack.
In Yogurt Parfaits
- Layer homemade strawberry jam with yogurt and granola in a glass for an appealing and nutritious breakfast or dessert option.
As a Pancake or Waffle Topping
- Drizzle warm strawberry jam over pancakes or waffles instead of syrup for added flavor and sweetness.
On Cheese Boards
- Include homemade strawberry jam on cheese boards to complement cheeses like brie or goat cheese, enhancing the tasting experience.
With Desserts
- Use as a filling between cake layers or as a topping for ice cream, adding a fruity twist to your favorite desserts.
How to Perfect Homemade Strawberry Jam
For the best results when making homemade strawberry jam, consider these essential tips:
- Choose ripe strawberries: Select fresh, ripe strawberries for optimal sweetness and flavor, ensuring your jam tastes its best.
- Use fresh lemon juice: Freshly squeezed lemon juice enhances the flavor and helps with the gelling process, giving your jam the perfect consistency.
- Sterilize jars properly: Ensure your jars are sterilized before filling them with hot jam to prevent spoilage and extend shelf life.
- Cook at the right temperature: Maintain medium heat while cooking; this ensures even thickening without burning the mixture.
- Test for doneness correctly: Use the cold plate method for testing readiness; this guarantees your jam has reached the right thickness before cooling.
Best Side Dishes for Homemade Strawberry Jam
Homemade strawberry jam complements various side dishes beautifully. Here are some great options to serve alongside:
- Cheese Platter
A selection of cheeses such as cheddar, brie, and gouda pairs wonderfully with the sweet notes of strawberry jam. - French Toast
Serve French toast topped with powdered sugar and a generous spoonful of homemade strawberry jam for an indulgent brunch treat. - Pancakes
Fluffy pancakes drizzled with warm strawberry jam create a delightful breakfast dish that everyone will love. - Scones
Freshly baked scones slathered with butter and homemade strawberry jam make for an elegant tea-time snack. - Oatmeal
Stirring in homemade strawberry jam into oatmeal adds natural sweetness and fruitiness, making breakfast more enjoyable. - Grilled Cheese Sandwiches
A grilled cheese sandwich paired with a side of strawberry jam offers a sweet-savory combination that’s hard to resist.
Common Mistakes to Avoid
Making Homemade Strawberry Jam can be fun, but some common mistakes can hinder your results. Here are a few pitfalls to watch out for:
- Skipping Sterilization: Not sterilizing jars can lead to spoilage. Always sterilize your containers before pouring in the jam to ensure safety.
- Ignoring Consistency Tests: Failing to test for thickness may result in runny jam. Use the cold plate method to check if the jam has thickened properly.
- Using Overripe Strawberries: Overripe berries can affect flavor and texture. Choose fresh, firm strawberries for the best results.
- Not Stirring Enough: Neglecting to stir can cause burning. Stir constantly while cooking to ensure even thickening and prevent sticking.
- Adding Too Much Sugar Early: Adding too much sugar from the start can make it hard to adjust sweetness later. Start with less and adjust as needed during cooking.
Storage & Reheating Instructions
Refrigerator Storage
- Store homemade strawberry jam in airtight containers.
- It lasts up to 3 weeks in the refrigerator.
Freezing Homemade Strawberry Jam
- Place the jam in freezer-safe containers, leaving space at the top for expansion.
- It can be frozen for up to one year.
Reheating Homemade Strawberry Jam
- Oven: Preheat at 350°F (175°C) and warm in an oven-safe dish until heated through.
- Microwave: Use a microwave-safe bowl and heat in 30-second intervals, stirring between each until warm.
- Stovetop: Gently reheat over low heat, stirring frequently until warmed.
Frequently Asked Questions
Here are some common questions about Homemade Strawberry Jam that might help you with your cooking process.
Can I use frozen strawberries for homemade strawberry jam?
Yes, frozen strawberries work well! Just make sure they’re thawed before cooking.
How long does homemade strawberry jam last?
Homemade strawberry jam lasts about three weeks in the fridge and up to a year if frozen correctly.
How do I know when my homemade strawberry jam is done?
You can test its readiness by placing a spoonful on a cold plate; if it wrinkles when you push it with your finger, it’s ready!
Can I customize my homemade strawberry jam?
Absolutely! Feel free to add spices like cinnamon or vanilla for extra flavor, or mix in other fruits for variety.
What should I do if my homemade strawberry jam is too runny?
If it’s too runny, return it to heat and cook longer until it thickens. You could also add a bit of pectin as a thickening agent.
Final Thoughts
This Homemade Strawberry Jam recipe is not only delicious but also versatile. You can enjoy it on toast, pancakes, or as a filling for pastries. Feel free to customize it with different fruits or spices according to your taste preferences!
Homemade Strawberry Jam
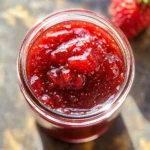
Indulge in the luscious taste of Homemade Strawberry Jam, a delightful way to capture the essence of fresh strawberries. Perfect for spreading on toast, swirled into yogurt, or as a topping for desserts, this easy-to-make jam brings a burst of fruity flavor to your kitchen. With just three simple ingredients, you can savor the sweetness of ripe strawberries all year round. This homemade version allows you to adjust sweetness to your liking and adds a personal touch to any dish. Whether enjoyed on breakfast items or as part of desserts, this strawberry jam is sure to impress!
- Prep Time: 10 minutes
- Cook Time: 20 minutes
- Total Time: 30 minutes
- Yield: Approximately 16 servings 1x
- Category: Desserts
- Method: Cooking
- Cuisine: American
Ingredients
- 4 cups fresh strawberries (hulled and halved)
- 1 cup granulated sugar (adjustable)
- 2 tablespoons freshly squeezed lemon juice
Instructions
- Prepare the Strawberries: Hull and halve 4 cups of fresh strawberries.
- Combine Ingredients: In a large saucepan, combine the strawberries with 1 cup of sugar and 2 tablespoons of lemon juice.
- Bring to a Boil: Heat over medium heat, stirring frequently until boiling.
- Simmer and Thicken: Reduce heat and gently simmer for about 15-20 minutes, stirring constantly until thickened.
- Test for Readiness: Place a spoonful on a cold plate; if it holds shape and wrinkles when pushed, it's ready.
- Jar Your Jam: Pour into sterilized jars, cool slightly, seal, and label for storage.
Nutrition
- Serving Size: 1 tablespoon
- Calories: 50
- Sugar: 12g
- Sodium: 0mg
- Fat: 0g
- Saturated Fat: 0g
- Unsaturated Fat: 0g
- Trans Fat: 0g
- Carbohydrates: 13g
- Fiber: 0g
- Protein: <1g
- Cholesterol: 0mg